I think the truth is retouching photographs can be a rather laborious process, involving a mixture of Actions in Photoshop combined with more complicated layer-based editing and I don't really believe there is any quick or easy way to achieve the things you see in magazines. If you want quality results, you really have to throw yourself into learning the tools, Photoshop and correct RAW processing being the primary ones. I treat retouch as a creative exercise, combining traditional retouch activities (skin smoothing, shaping and light adjustments) with my illustration.
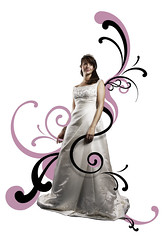
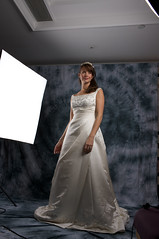
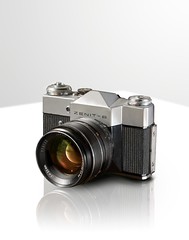
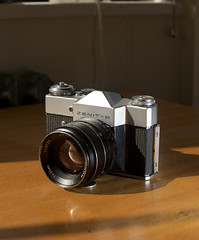
These are a couple of images I use as retouch samples, a Product image and a bit of Wedding:


These were created with RAW editing in Aperture 2 to correct exposure, highlights and shadow and correct White Balance, followed by Photoshop for cloning, patching and softening work on multiple layers. In the case of the product photo I used the table as a guide for lighting but dropped the camera onto a white backdrop to really isolate it. A reflection was painted in on a transparent layer beneath. The dress on the wedding piece was balanced using a soft light layer, soft light allows you to pull up the brightness in shadows and even out harsh lighting - If you fill the layer with neutral grey (50%) when you create it you can just gently paint in the lightening using a 10% white paintbrush. I use a Wacom Intuos 4 tablet for all my illustration work, the ergonomics of using a pen make it an unbeatable experience and I highly recommend it to anyone looking at retouch or digital illustration, I'll try and put up a post about how I use a tablet in the near future.

No comments:
Post a Comment